Dyeing your hair at home doesn't have to end in disaster or an emergency salon visit. With the right preparation, tools, and techniques, you can achieve professional-looking color that's vibrant, even, and long-lasting—all from your bathroom. This 2025 guide draws from expert advice, incorporating updates like safer ammonia-free dyes and at-home gloss treatments for that fresh-from-the-salon shine. Whether you're covering grays, going bold, or just refreshing your roots, follow these 15 steps for flawless results. Remember: always do a patch test 48 hours before to avoid allergies.
Before You Start: Gather Your Tools & Choose Your Color (Prep Time: 1–2 Days)
The key to salon-quality hair dye at home is preparation. Rushing leads to uneven color or damaged strands. Here's what you'll need:
- Hair Dye Kit: Opt for brands like L'Oréal Paris Excellence Crème for full coverage or Garnier Nutrisse for nourishing formulas. Choose ammonia-free options like Madison Reed if you're sensitive. For 2025 trends, try subtle balayage kits from dpHUE or root-touch ups from Clairol. Match your shade: Go one level lighter or darker than your natural for subtle changes; consult a color wheel for dramatic shifts.
- Tools: Plastic mixing bowl, tint brush, sectioning clips, gloves (included in kits), old T-shirt or cape, petroleum jelly (to protect skin), timer, and a hand mirror.
- Protective Items: Plastic wrap or shower cap for processing, microfiber towel for drying.
- Post-Dye Care: Color-safe shampoo/conditioner (e.g., Olaplex No.4/5), deep conditioning mask, and UV-protectant spray.
Budget: $15–$50 for a kit + tools. Pro tip: If your hair is longer than shoulder-length or thick, buy two boxes.
Step 1: Do a Strand Test & Patch Test (48 Hours Before)

Never skip this—it's the #1 way to avoid regrets.
- Mix a small amount of dye per instructions.
- Apply to a 1-inch strand at the nape (hidden area).
- Process for the recommended time (20–45 minutes), rinse, and dry. Check color match and hair condition.
- For patch test: Apply a dab behind ear or inner elbow. Wait 48 hours for irritation. This ensures no allergic reactions and confirms the color result on your hair.
Step 2: Prep Your Space & Protect Yourself (10 Minutes)
Set up in a well-ventilated bathroom with good lighting.
- Lay down old towels or newspapers to catch drips.
- Apply petroleum jelly along hairline, ears, and neck to prevent skin staining.
- Wear an old button-up shirt (easy to remove without pulling over head).
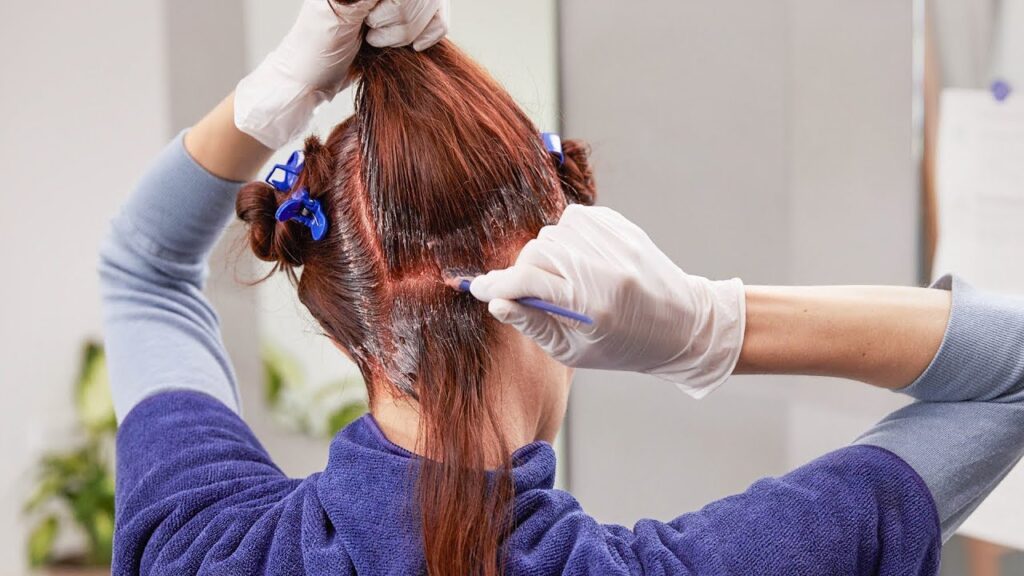
- Divide hair into 4 sections with clips: two front, two back. This ensures even application.
Step 3: Mix the Dye Properly (5 Minutes)
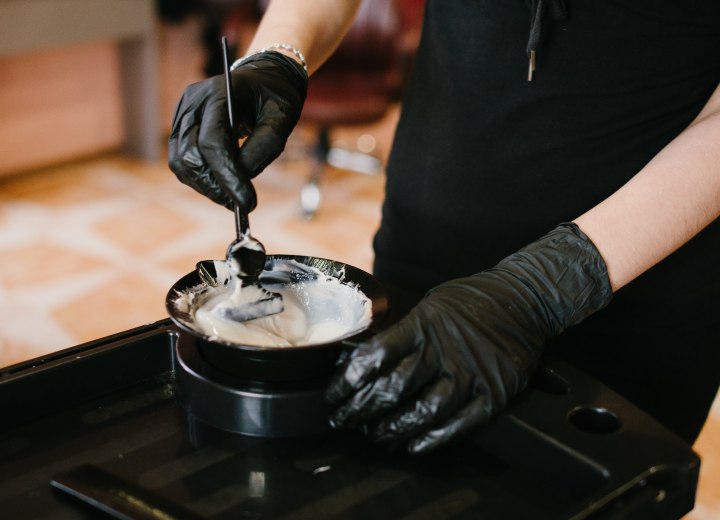
Follow box instructions exactly—don't eyeball measurements.
- Pour developer into bowl first, then color tube.
- Mix with brush until creamy and lump-free (like pancake batter).
- For root touch-ups, mix only what you need. Ammonia activates immediately, so work fast.
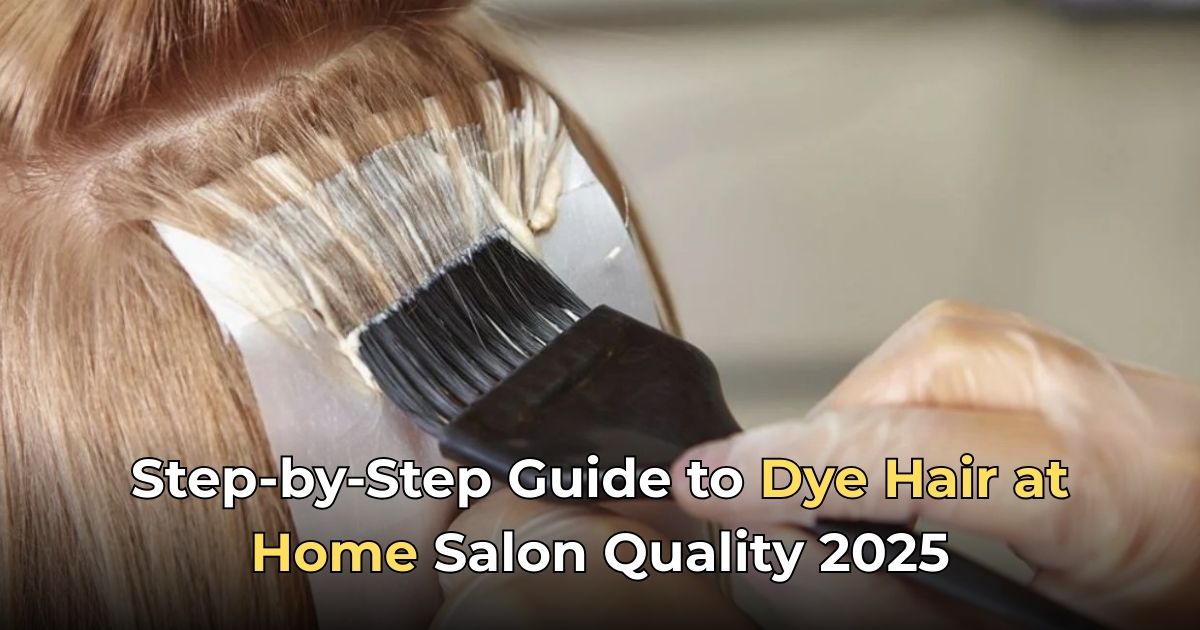
Step 4: Apply to Roots First (15–20 Minutes)
Start with dry, unwashed hair (natural oils protect scalp).
- Use brush to apply dye to roots in 1/4-inch sections, starting at the crown (warmest area).
- Massage gently with gloved fingers to saturate.
- Work from front to back, parting hair cleanly.
- For all-over color, pull dye through mid-lengths after roots are done.
Step 5: Process the Color (20–45 Minutes)

- Cover with plastic wrap or cap to trap heat (speeds development).
- Set a timer—over-processing leads to brassiness or damage.
- Check a strand every 10 minutes for desired color.
- For grays: Add 5–10 extra minutes if stubborn.
Step 6: Rinse Thoroughly (5–10 Minutes)
- Rinse with cool water until water runs clear (hot water opens cuticles and fades color).
- Use the included conditioner packet—massage in for 2–5 minutes.
- Skip shampoo for 48–72 hours post-dye to lock in color.
Step 7: Dry & Style Gently (10–15 Minutes)
- Air-dry or low-heat blow-dry (high heat fades fresh color).
- Use a wide-tooth comb to avoid breakage.
- Apply a color-protecting leave-in like Olaplex No.6 for shine.
Step 8: Post-Dye Maintenance for Salon Shine (Ongoing)
- Wash 2–3 times/week with sulfate-free shampoo (Redken Color Extend or Aveda Color Conserve).
- Deep condition weekly (Briogeo Don't Despair, Repair!).
- Use gloss treatment every 4–6 weeks (John Frieda Glaze or dpHUE Gloss+).
- Avoid chlorine/sun: Wear a hat or use UV spray.
- Touch up roots every 4–8 weeks.
Common Mistakes to Avoid for Pro Results
- Dyeing wet hair: Dilutes color, uneven results.
- Ignoring gray coverage: Use ash tones for stubborn grays.
- Overlapping on ends: Leads to darker, damaged tips.
- Not sectioning: Misses spots, patchy color.
- Rinsing too soon: Under-developed, faded fast.
Safety Tips Every Beginner Needs in 2025
- Ventilate room—fumes can irritate.
- Gloves always: Dye stains skin for days.
- If scalp burns/itches during process, rinse immediately (allergy).
- Pregnant? Consult doctor—ammonia-free is safer.
- Dark to light? Bleach first or see a pro (home bleach often turns orange).
- Post-dye allergy? See dermatologist ASAP.
Advanced Tips for 2025 Salon-Level Upgrades
- For balayage/ombre: Use a highlighting cap or foil + brush for precision.
- Gray blending: Try root smudge techniques with semi-permanent dye.
- Eco options: Henna or plant-based dyes (Herbatint, Aveda) for natural results.
- Tech help: Apps like Madison Reed Virtual Try-On for color previews.
- Fix mistakes: Color remover kits (Color Oops) for at-home corrections.
When to Go Pro Instead
- Dramatic changes (black to blonde)
- Damaged/porous hair
- First-time dyeing
- If you want foils/highlights
Home dyeing saves $100–$300 per session, but pros handle complexity.